DIY Cheesecloth Ghost Tutorial for kids
Walking on the Spoookkkkyyy Side!
Materials you will need
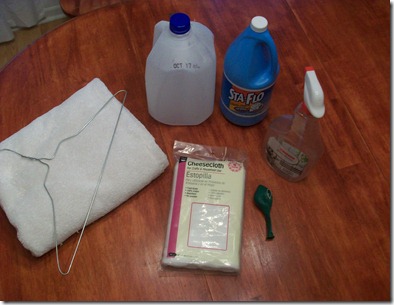
1 Pack of cheesecloth
1 Bottle of liquid starch
Empty spray bottle. We used an old Windex bottle
Something to use for the body form…We used an empty milk jug
Something to use for the head form. We used a blown up balloon. You could use a Styrofoam ball also.
2 Wire coat hangers or something to form the arms
A Towel
Some black fabric
A hair dryer
Step One:
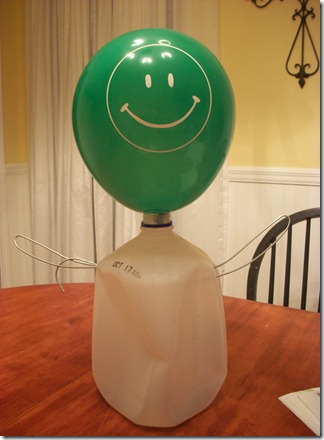
I cut two slits in the side of the milk jug and placed each hanger into each slit and then bend and work the hangers until you have your desired shape for your arms.
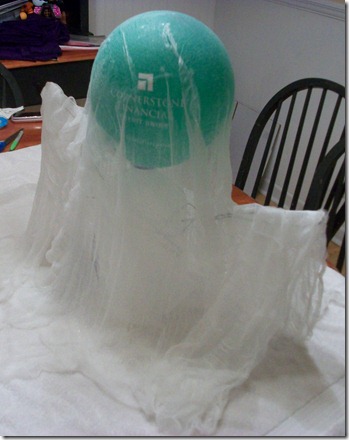
Take your balloon or Styrofoam ball and place on top of your jug for the head. I used some scotch tape to help hold the balloon in place.
Step Two:
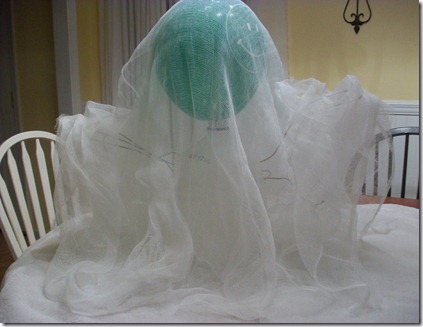
Start draping cheesecloth over your form. You can play around with your length and thickness based on your desired outcome. Some people choose to use a single layer to get a more transparent ghost. I used two layers across the entire ghost form and then added an extra strip draped across each arm.
Step Three:
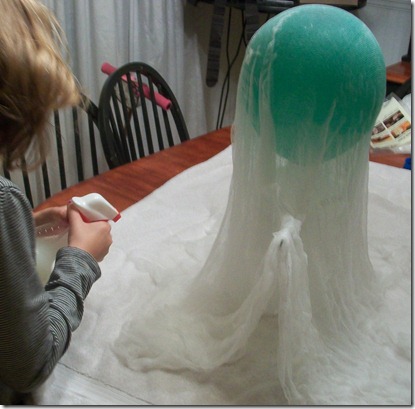
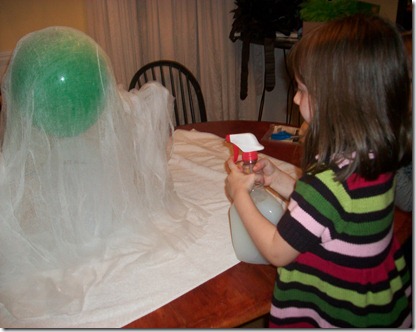
Fill your spray bottle about 3/4 of the way full of the liquid starch and top with 1/4 bottle of water. You don’t have to fill the entire bottle if your doing a smaller ghost or only one but try and keep your ratio 3 parts starch to 1 part water. This will ensure a stiffer ghost. Once that’s mixed start spraying. This is a very easy project that even my girls were able to help with…just make sure one isn’t sitting on the other side of the ghost when the other one is spraying…cheesecloth has a lot of holes in it which means little sister will be very stiff as well…lol..oops!
We soaked it pretty good and as it’s drying if it doesn’t seem stiff enough you can always spray it some more.
Step Four:
Time to let it dry. If you do this on a sunny day I would recommend just sitting it outside to dry in the sun. We did this in the evening so I used my hair dryer and just started drying small sections at a time. This took a little bit of time but it wasn’t really that bad. Somehow I missed a picture of this step, but I think you get the idea.
Step Five:
After your cheesecloth is dry carefully lift it off of the body form. The head may require a bit of care since the starch likes to stick to the balloon as well but don’t worry it will still keep it’s shape even if you have to pull it a bit.
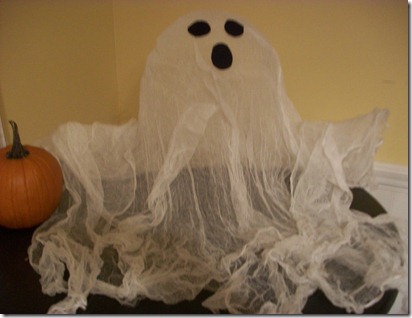
Cut out 2 eyes and a nose using your black fabric and attach with either craft glue or hot glue.
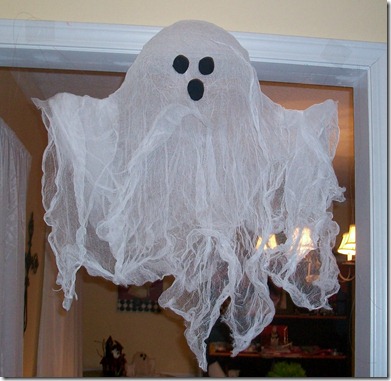
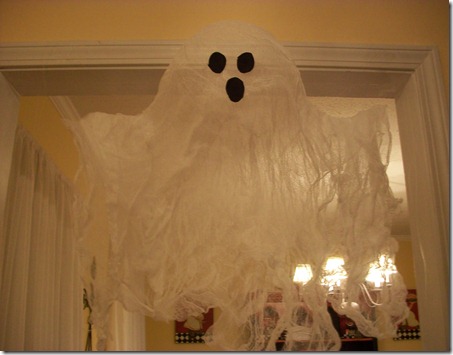
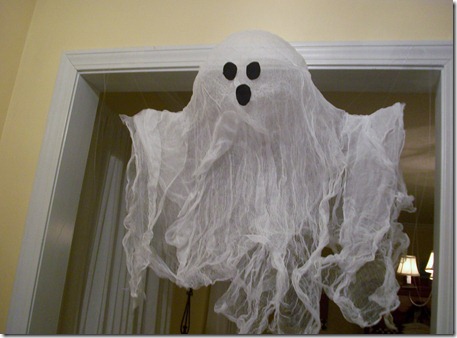
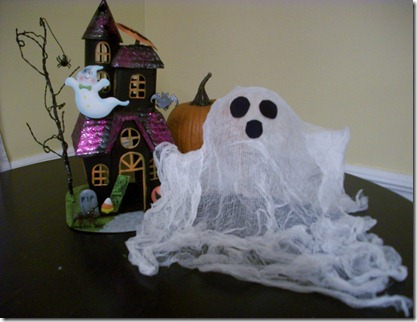
As you can see when you set it on a table it will stand up and look like a spooky ghost! I didn’t make this one quite stiff enough for my liking so I decided to try and hang it instead and I have to say I LOVE it hanging from the ceiling.
Simply use some fishing line or white thread and thread it through the arms of the ghost and you can hang it from anywhere you would like. They would be awesome hanging from trees on Trick-or-Treat night!
The girls and I tried making a mini table ghost also…he turned out pretty cute as well! Same idea I just used a plastic cup and a few plastic grocery bags to form the head.
So there you have it…go make something spoooookkkyyyy!
Happy Haunting!
Candy

